In recent years, gluten-free diets have become a staple for many, whether for health reasons, personal preferences, or a combination of both.
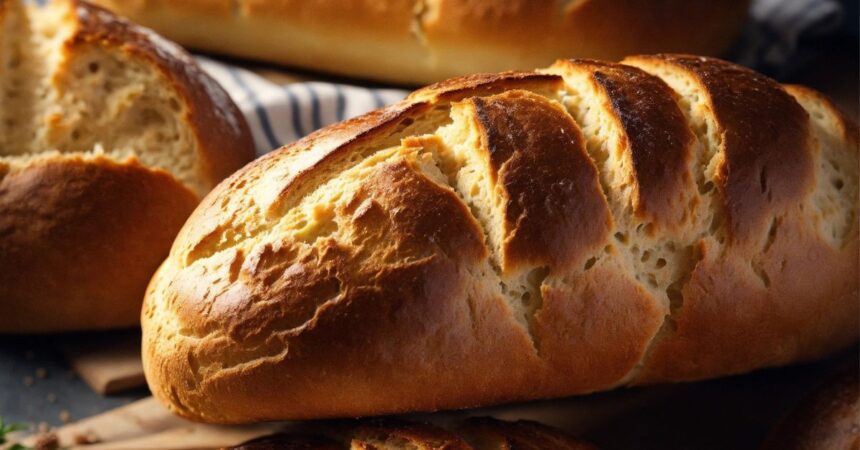
Among the growing variety of gluten-free products, gluten-free sourdough bread has emerged as a favorite for those craving the distinct flavor and texture of traditional sourdough without the gluten
If you’re someone who loves baking and wants to create the perfect loaf, this detailed guide will provide you with all the steps, ingredients, and tips to bake a mouthwatering gluten-free sourdough bread that is just as good (if not better) than the classic.
Why Gluten-Free Sourdough?
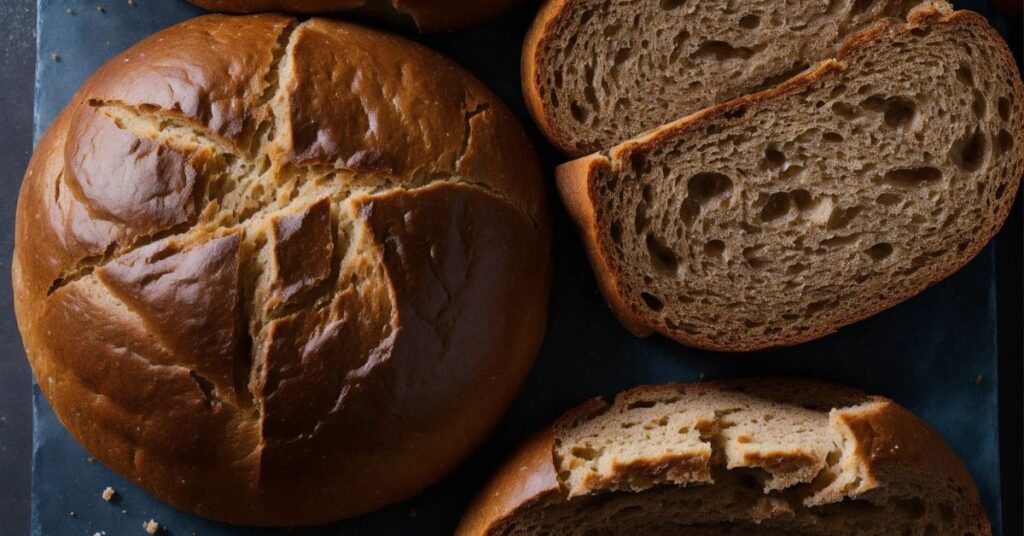
Sourdough bread is beloved for its chewy crust, tangy flavor, and tender crumb. But for those with gluten sensitivities or celiac disease, regular sourdough made with wheat flour is off-limits. The good news is that gluten-free sourdough is not only possible but can be equally enjoyable.
With the right ingredients and technique, you can make a loaf that’s packed with flavor, easy to digest, and completely free of gluten.
Gluten-free sourdough also brings along the benefits of sourdough fermentation, such as improved digestion and a lower glycemic index, making it a great option for a wider range of dietary needs.
Essential Ingredients for Gluten-Free Sourdough Bread
Before you dive into the baking process, gathering the right ingredients is crucial. Unlike regular bread, gluten-free baking requires specific flour combinations to mimic the structure and texture of gluten. Here’s what you’ll need:
1. Gluten-Free Sourdough Starter
A sourdough starter is the heart of any sourdough recipe. For gluten-free sourdough, you’ll need to create or buy a gluten-free sourdough starter, typically made from gluten-free flours like brown rice flour, sorghum flour, or buckwheat flour. You’ll need to feed the starter daily for a few days until it’s bubbly and ready to bake.
2. Gluten-Free Flour Blend
A blend of gluten-free flours is essential to get the right texture. Here’s a recommended mix:
- Brown rice flour (light and nutty)Tapioca starch (adds chewiness)Sorghum flour (adds structure)Potato starch (light and airy)
3. Water
Use filtered or distilled water, especially if you are making your sourdough starter from scratch. Chlorinated water can hinder the fermentation process.
4. Salt
A crucial element for flavor, a pinch of salt balances the tangy flavor of the sourdough and helps regulate fermentation.
5. Optional Add-ins
For extra flavor or texture, you can add seeds like sunflower, flaxseeds, or even herbs to enhance your loaf. Experimentation is key!
Step-by-Step Guide to Making Gluten-Free Sourdough Bread
Step 1: Create or Feed Your Gluten-Free Starter
If you’re starting from scratch, combine equal parts of gluten-free flour (like brown rice or sorghum flour) and water. Stir and leave it at room temperature. Feed the starter daily for 4-7 days, discarding half and adding fresh flour and water. Your starter is ready when it’s bubbly and has a slightly tangy smell.
For those who already have a starter, make sure to feed it about 4-6 hours before baking to ensure it’s active.
Step 2: Mix the Dough
Once your starter is active, mix your gluten-free sourdough dough. Use the following proportions as a base:
- 1 cup of gluten-free starter
- 2 ½ cups of gluten-free flour blend (see above)
- 1 ½ cups of water (adjust as needed for consistency)
- 1 tsp of salt
In a large mixing bowl, combine the gluten-free flour blend and salt. In a separate bowl, mix the starter with water until well combined. Gradually add the wet mixture to the flour, stirring to form a sticky dough. Gluten-free dough will not have the same elasticity as regular dough but should hold together well.
Step 3: Rest and Ferment
After mixing the dough, allow it to ferment. Cover the bowl with a damp cloth and let it rest for 6-12 hours at room temperature. For a more sour flavor, you can leave it to ferment longer (up to 24 hours).
This fermentation step is essential for developing the characteristic sourdough taste and ensuring the dough rises.
Step 4: Shape the Dough
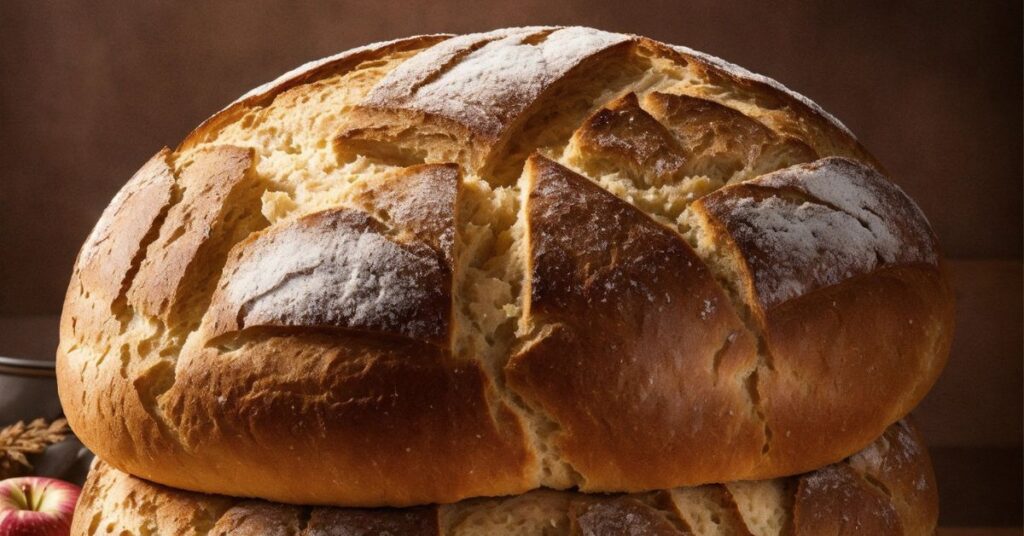
After the dough has fermented, it’s time to shape it. Gluten-free dough is more delicate than traditional dough, so handle it gently. Using lightly floured hands, shape the dough into a round loaf or place it in a greased loaf pan.
Step 5: Final Proof
Let the shaped dough rest for another 1-2 hours. This additional resting time allows the dough to settle and rise slightly before baking. Gluten-free dough will not rise as much as regular sourdough, but the fermentation process helps improve its texture.
Step 6: Bake
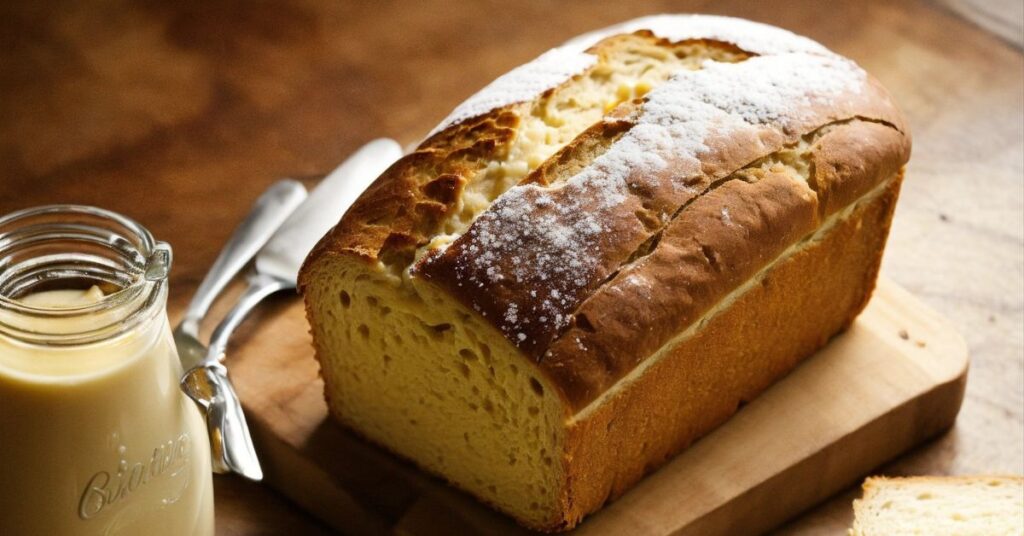
Preheat your oven to 450°F (230°C). If you have a Dutch oven, place it in the oven while it preheats, as this will create steam and help the bread develop a crispy crust. Bake the bread for 45-50 minutes or until the crust is golden brown and the internal temperature reaches 205°F (96°C).
If you’re using a loaf pan, baking may take slightly longer.
Remove the bread from the oven and let it cool on a wire rack for at least an hour before slicing. Gluten-free sourdough bread needs time to set properly, and slicing it too soon can result in a gummy texture.
Pro Tips for Perfect Gluten-Free Sourdough Bread
- Consistency is key. Gluten-free doughs are generally stickier than regular doughs, so don’t panic if the dough seems wetter than you’re used to. Add more flour only if the dough is too runny to shape.
- Let it rest. One of the biggest mistakes with gluten-free bread is rushing the process. Let the dough ferment and rest for the full amount of time to allow the sourdough flavor to develop.
- Use a Dutch oven. Baking your bread in a preheated Dutch oven can help replicate the steam environment of a professional bakery, giving your bread a beautiful crust.
- Experiment with flour blends. While the recommended blend works well for most recipes, feel free to experiment with other gluten-free flours like quinoa, millet, or teff flour for unique flavors and textures.
Storing and Serving Your Gluten-Free Sourdough Bread
Once your gluten-free sourdough bread is baked and cooled, store it in a sealed bag or container at room temperature for up to 3 days. For longer storage, slice the bread and freeze the slices, allowing for easy toasting whenever you want a fresh piece of sourdough.
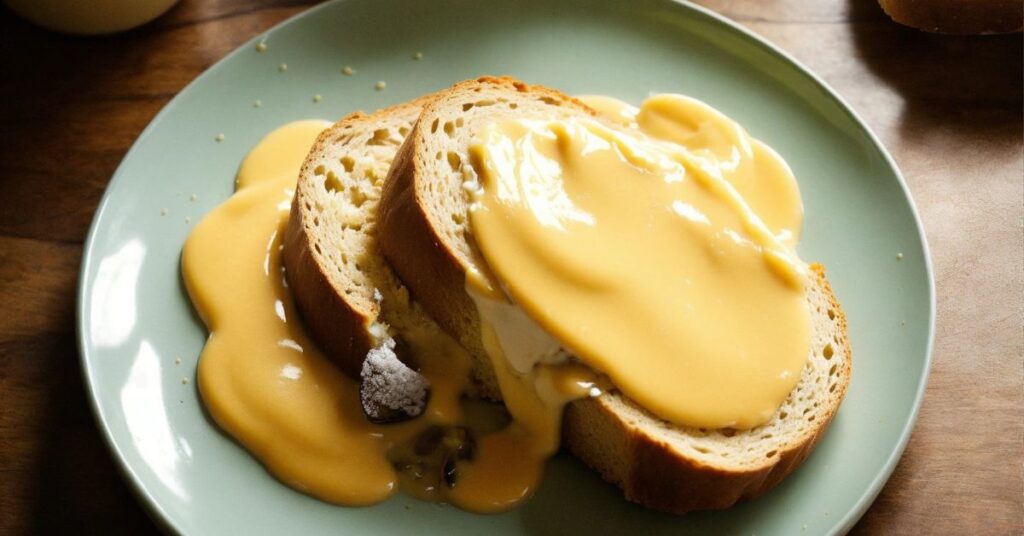
This gluten-free sourdough is perfect for everything from morning toast with avocado to sandwiches and French toast. Its versatility makes it a staple in any gluten-free kitchen.
Conclusion
Baking gluten-free sourdough bread at home might seem intimidating, but with the right ingredients and patience, you can master this artisanal bread. The distinct tang, chewy crust, and soft interior make it well worth the effort.
Whether you’re a seasoned baker or new to gluten-free baking, following this guide will ensure you end up with a beautiful, tasty loaf every time. Now, it’s time to roll up your sleeves, dust off your baking tools, and start crafting your own gluten-free sourdough masterpiece!
Frequently Asked Questions
Cracking in gluten-free sourdough bread often happens when the dough dries out during baking or if the oven temperature is too high. To prevent cracking:
- Score the top of the dough before baking to allow steam to escape.
- Use a Dutch oven or place a pan of water in the oven to create steam and keep the dough moist.
- Avoid overproofing, which can weaken the dough structure and lead to cracking.
