
Mastering the Art of Sourdough Sandwich Bread: A Comprehensive Recipe Guide
When it comes to crafting the perfect sandwich, the quality of the bread is paramount. Sourdough sandwich bread offers a delightful blend of robust flavors, a tender crumb, and a crisp yet yielding crust that elevates any filling to new heights.
In this guide, we will walk you through a detailed recipe that ensures your sourdough sandwich bread is not only delicious but also aesthetically perfect for your culinary creations.
Understanding the Basics: What Makes Sourdough Sandwich Bread Unique
Sourdough bread, with its distinctive tangy flavor and chewy texture, is created using a natural leavening process. Unlike commercial bread that relies on yeast, sourdough utilizes a starter—a mixture of flour and water that naturally ferments over time.
This starter is the key to the bread’s flavor and texture, and mastering it is the first step to baking the ideal loaf of sourdough sandwich bread.
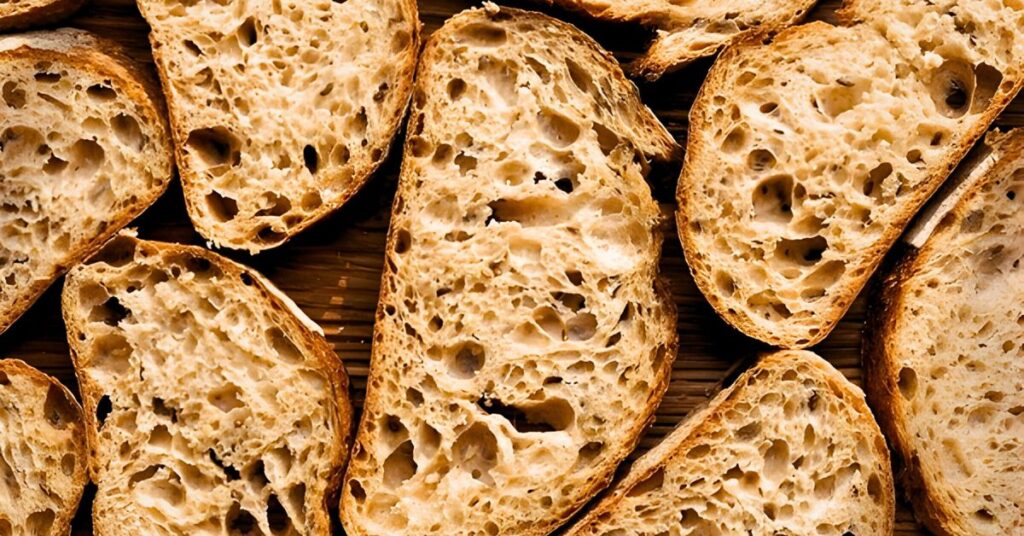
Ingredients for the Perfect Sourdough Sandwich Bread

To start, gather the following ingredients:
- Sourdough Starter (Active and Bubbly): 150g
- Bread Flour: 450g
- Whole Wheat Flour: 50g
- Water: 325g (warm)
- Salt: 10g
- Honey or Sugar: 25g
- Butter or Olive Oil: 30g (optional for a softer crumb)
These ingredients are carefully balanced to create a bread that is both flavorful and has the ideal texture for sandwiches. The addition of a small amount of whole wheat flour introduces a subtle nuttiness, while the honey or sugar contributes a touch of sweetness that complements the sour notes of the bread.
Step-by-Step Guide to Making Sourdough Sandwich Bread
1. Prepare the Sourdough Starter
Before you begin, ensure that your sourdough starter is active. Feed it 4-6 hours before you plan to start mixing your dough, and make sure it is bubbly and doubled in size. This ensures the starter is strong enough to leaven the bread.

2. Mix the Dough
In a large mixing bowl, combine the bread flour, whole wheat flour, and water. Stir the mixture until there are no dry bits of flour. Cover the bowl with a towel and let it rest for 30 minutes. This process, known as autolyse, allows the flour to fully hydrate, leading to better gluten development.
After the autolyse, add the sourdough starter, salt, and honey or sugar. If you’re using butter or olive oil, incorporate it now. Mix the ingredients until they form a sticky, shaggy dough. Knead the dough in the bowl or on a lightly floured surface until it becomes smooth and elastic.
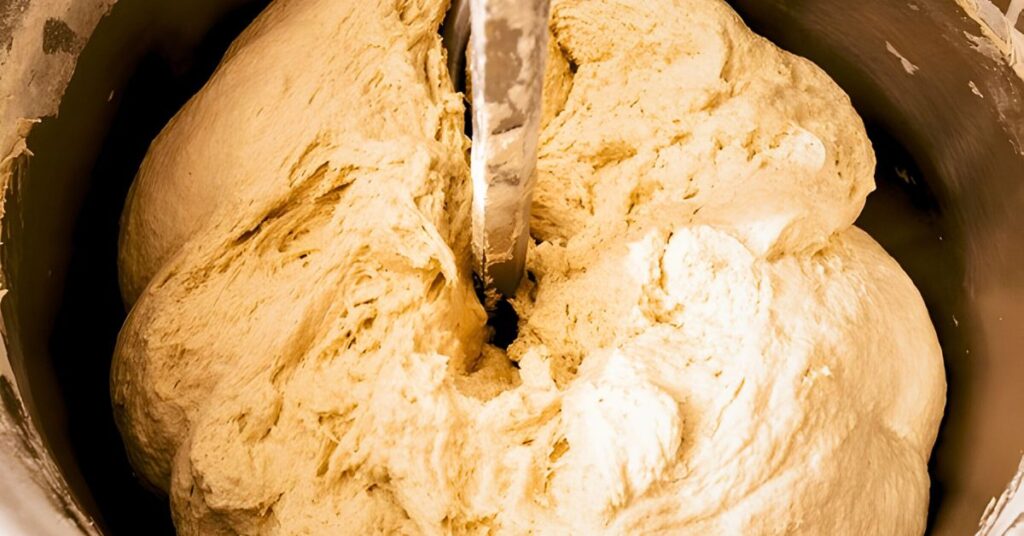
3. Bulk Fermentation
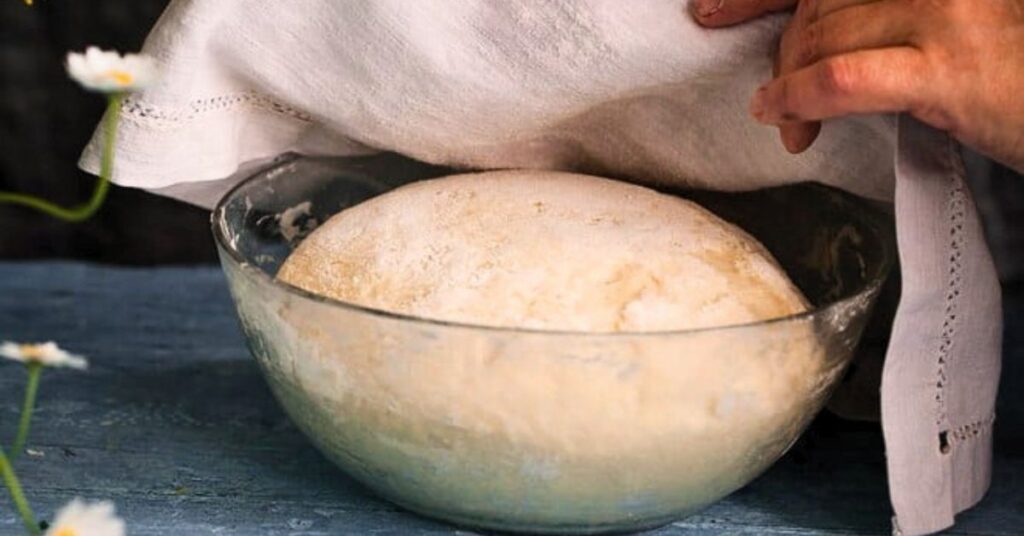
Transfer the dough to a clean bowl and cover it with a damp towel. Let it rest at room temperature for 4-5 hours. During this time, perform stretch and folds every 30 minutes for the first 2 hours. This technique helps to strengthen the dough without overworking it.
Bulk fermentation is complete when the dough has doubled in size and is visibly airy and full of gas bubbles. The time required may vary depending on the temperature of your kitchen.
4. Shaping the Dough
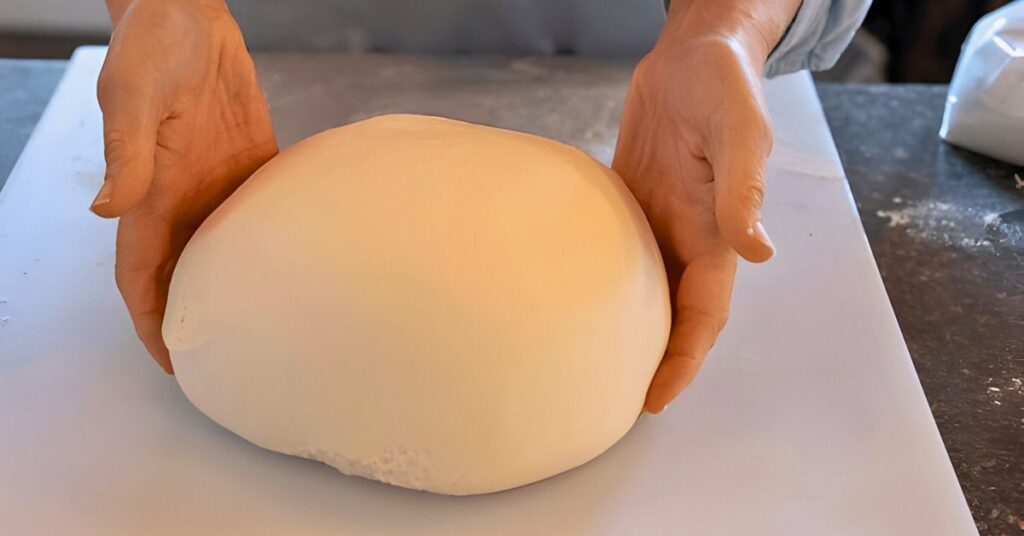
Once the bulk fermentation is complete, turn the dough out onto a lightly floured surface. Gently shape it into a rectangle by pressing down lightly. Fold the edges inward to create a tight loaf shape that fits snugly into a greased loaf pan. This step is crucial for creating a loaf with a uniform crumb and even rise.
5. Final Proofing
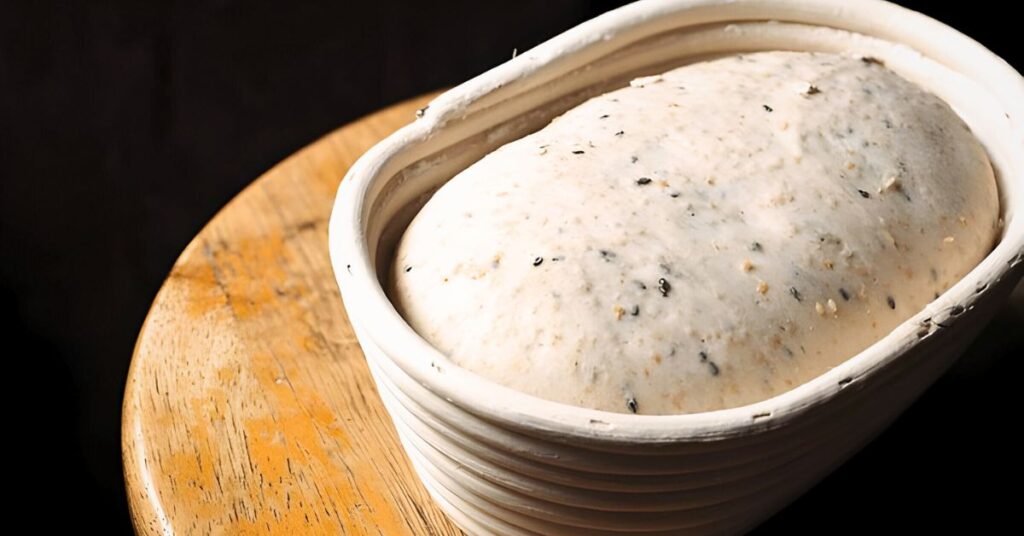
Cover the shaped dough with a towel and allow it to proof for 2-3 hours at room temperature, or overnight in the refrigerator for a slower, more developed flavor. The dough is ready to bake when it has risen just above the edge of the loaf pan and feels light and airy when gently pressed.
6. Baking the Bread
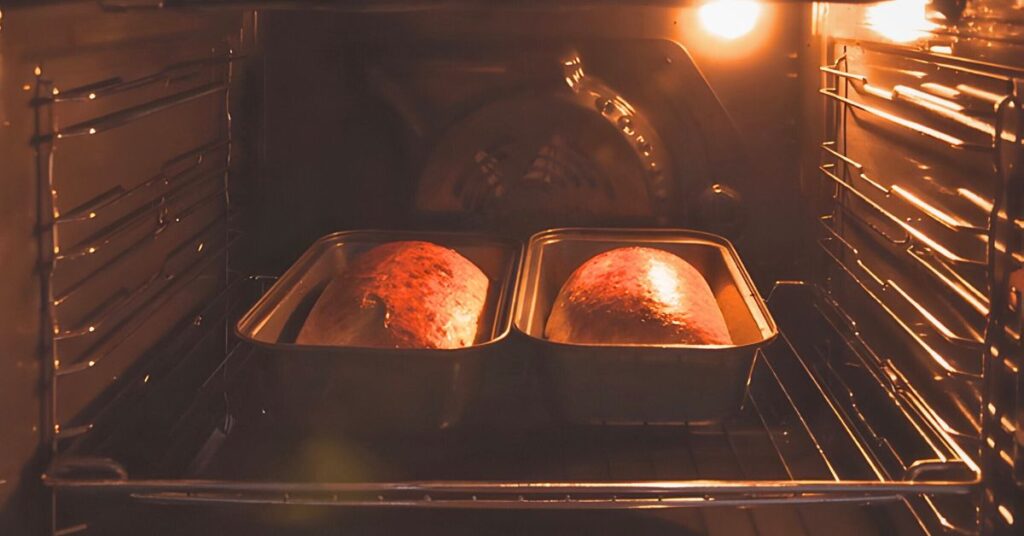
Preheat your oven to 375°F (190°C) and place an oven-safe dish with water at the bottom rack to create steam. This steam is essential for achieving a crispy crust. Bake the bread for 40-45 minutes, or until the crust is golden brown and the internal temperature reaches 200°F (93°C).
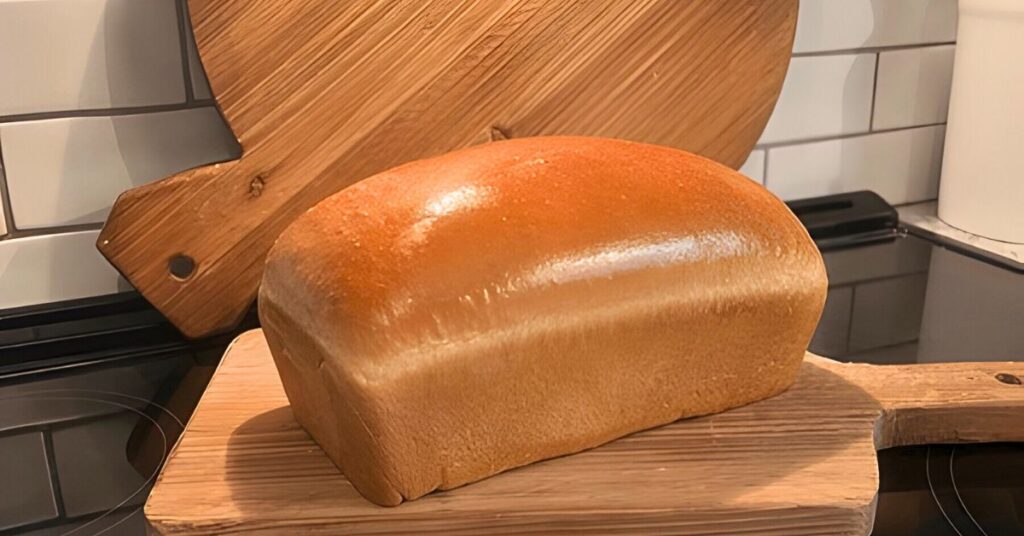
If you prefer a softer crust, you can tent the loaf with aluminum foil halfway through the baking process. Once done, remove the bread from the oven and let it cool in the pan for 10 minutes before transferring it to a wire rack to cool completely.
Tips for Achieving the Best Sourdough Sandwich Bread
- Maintain Your Starter: A healthy starter is the cornerstone of good sourdough bread. Regularly feed it and store it properly to ensure it stays active and potent.
- Monitor Dough Hydration: If your dough feels too dry or too wet during the mixing process, adjust the water or flour slightly. Dough hydration can vary based on factors like humidity and flour type.
- Control Fermentation: The fermentation process can be slowed down or sped up by adjusting the temperature. Colder temperatures lead to slower fermentation, resulting in a more complex flavor, while warmer conditions speed up the process.
- Experiment with Flavors: While this recipe is designed to produce a classic sourdough sandwich bread, feel free to experiment with add-ins like seeds, herbs, or even cheese to customize the flavor profile.
Storing and Slicing Your Sourdough Sandwich Bread
Once your sourdough sandwich bread has cooled completely, store it in a bread box or a breathable bag to maintain its freshness. Avoid plastic bags, as they can cause the crust to become soggy. Sourdough bread typically stays fresh for several days, but it can also be frozen if you want to extend its shelf life.
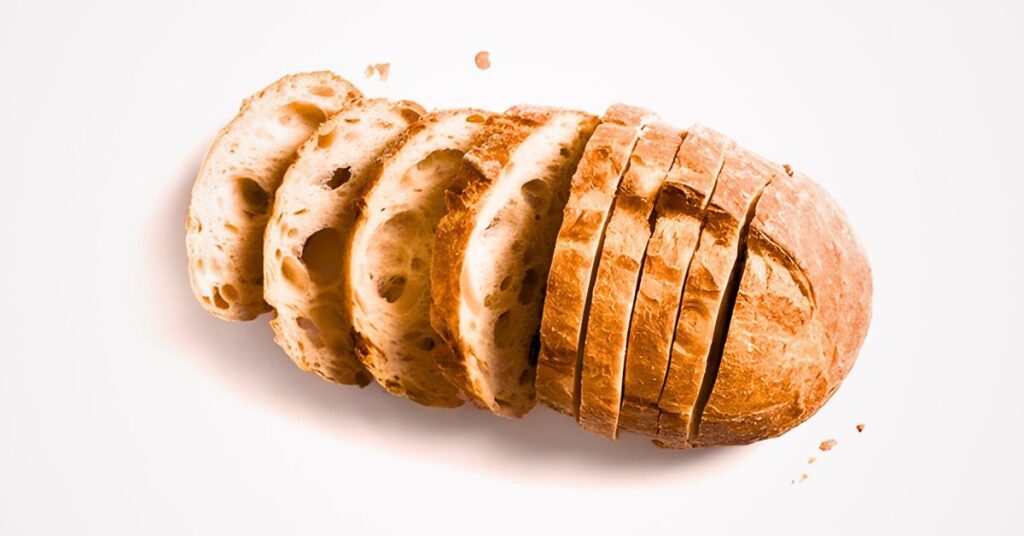
When slicing your bread, use a serrated knife for the cleanest cuts. This ensures that your slices are even and perfect for sandwiches, toast, or any other culinary use.
Conclusion
Crafting sourdough sandwich bread at home may require some time and patience, but the results are undeniably rewarding. By following this comprehensive recipe, you can enjoy a loaf that not only tastes incredible but also serves as the ideal foundation for all your sandwich creations.
With practice, you’ll refine your technique and discover the joys of homemade sourdough bread that is far superior to any store-bought alternative.
Embrace the art of sourdough, and let your kitchen become a haven for delicious, artisanal bread-making.
Frequently Asked Questions
What is the difference between sourdough sandwich bread and regular sourdough bread?
Sourdough sandwich bread is typically softer and more tender than regular sourdough bread, with a finer crumb and a more rectangular shape that fits well in a loaf pan. This makes it easier to slice for sandwiches. Regular sourdough bread, on the other hand, often has a more rustic, artisanal shape with a chewier crumb and a thicker crust.
Can I make sourdough sandwich bread without a sourdough starter?
No, the unique flavor and texture of sourdough bread come from the natural fermentation process of the sourdough starter. However, if you don’t have a starter, you can make a similar type of bread using commercial yeast, though it won’t have the same depth of flavor or the characteristic tang of sourdough.
How do I maintain and feed my sourdough starter?
To maintain a sourdough starter, keep it in a jar at room temperature if you bake frequently, or store it in the refrigerator if you bake less often. Feed it equal parts of flour and water (by weight) every day if kept at room temperature, or once a week if refrigerated. For example, if you have 100g of starter, feed it 50g of flour and 50g of water.
Why is my sourdough sandwich bread too dense?
A dense loaf can be caused by underproofing (not allowing the dough to rise enough) or using a weak starter that isn’t active enough. Ensure that your starter is bubbly and that your dough has had enough time to rise during bulk fermentation and final proofing. Also, make sure the dough has been kneaded properly to develop the gluten structure.
How can I make my sourdough sandwich bread softer?
To achieve a softer loaf, you can add ingredients like butter, milk, or oil to the dough. These enrich the dough, resulting in a softer crumb. Also, be careful not to overbake the bread, as this can make the crust too thick and the crumb drier.
Can I use whole wheat flour in my sourdough sandwich bread?
Yes, you can substitute a portion of the bread flour with whole wheat flour. However, whole wheat flour absorbs more water and can make the bread denser, so you may need to adjust the hydration level. Using about 10-20% whole wheat flour in the recipe is a good starting point for maintaining a light and fluffy texture.
How long does sourdough sandwich bread stay fresh?
Sourdough bread stays fresh for about 3-4 days when stored in a bread box or a paper bag. To extend its shelf life, you can slice and freeze the bread, then toast or warm slices as needed. Avoid storing the bread in plastic bags, as this can make the crust soggy.
How do I know when my sourdough sandwich bread is fully baked?
The bread is fully baked when the crust is golden brown and the internal temperature reaches around 200°F (93°C). You can use a digital thermometer to check. Additionally, the bread should sound hollow when tapped on the bottom.
Why did my sourdough bread not rise in the oven?
If your bread didn’t rise (a phenomenon known as “oven spring”), it might be due to underproofing or overproofing the dough, or using a weak starter. Make sure the dough is properly proofed and that your starter is active and bubbly before using it in the recipe. Another factor could be that your oven wasn’t hot enough, so preheating is essential.
Is sourdough bread healthier than regular bread?
Sourdough bread is often considered healthier because the natural fermentation process can make nutrients more bioavailable, improve digestion, and lower the bread’s glycemic index. It also tends to be easier on the stomach for those who are sensitive to gluten, though it is not gluten-free.